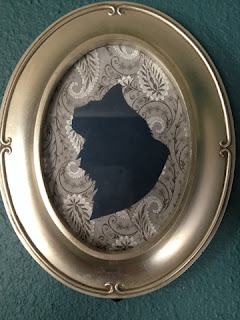
Valentine's Silhouette
A friend of mine asked for some help making a silhouette for her honey for Valentine's Day! I've made quite a few in my day, from one of my Nesse cat:

and of course, not to be forgotten, there were our wedding invitations, so I thought why not! This will be a fun project!!
So what is needed for making silhouettes, you might ask? I follow several steps. First of all, I take a picture and "create a shape" (I originally started making these in Photoshop when I was taking graphic design courses - I made this cute party invite for my mom! - and now with no access to Photoshop, I've figured out a way to create them in PowerPoint!) that outlines the figures and calls out any interesting focal points. For Keaton and Matt, we emphasized his bow tie, the shape of her face and his nose (otherwise they were just two blobs!), their legs, and his sleeve.
 From there, you use one sheet for a background and one for the foreground. Keaton also wanted to use a bit of orange for Matt's bow tie, and some glitter for her sparkly shirt! Print out the shape and tape it to the foreground paper, and using an Exact-o pen knife, press firmly (and slowly!!) around the entire silhouette, taking care not to make any cuts where you shouldn't! Remove the top sheet and retrace the lines, as typically it doesn't cut all the way through. After that, we added the glitter (we made a little stencil so the glue and glitter didn't get everywhere), taped the orange to the back of the silhouette, and then use a glue stick (after the glitter and glue have dried!) to affix it to the background paper. Frame it and you're done!
Happy Valentine's Day, everyone!


Comments